Ever wonder how some kitchens seem to run effortlessly while others feel cluttered and chaotic? The secret often lies in smart design ideas that make everyday cooking smoother, safer, and more enjoyable. Smart kitchen solutions are gaining popularity because they blend functionality with style, helping you maximize space and reduce stress during meal prep.
From innovative storage to clever lighting, these ideas transform your kitchen into a powerhouse of efficiency. In this article, you’ll find a treasure trove of inspiring, practical tips designed to simplify your cooking routine and elevate your kitchen’s style.
Whether you’re looking to organize your pantry, create more prep space, or add a touch of personality with décor, we’ve got you covered. Get ready to discover a variety of clever ideas that will make your kitchen more user-friendly, beautiful, and tailored to your lifestyle—all while saving time and effort! Imagine a kitchen where every utensil, pot, and ingredient has its dedicated spot, instantly accessible and beautifully displayed.
Modular shelving systems do just that, transforming clutter into organized elegance. These shelves often feature adjustable, open-faced units that can be customized to fit your space, with sleek metal or warm wood finishes adding a modern or cozy touch.
They create a layered look, allowing you to display your favorite cookbooks, stylish jars, or decorative bowls alongside everyday essentials, making the space feel both functional and inviting. When well-planned, modular shelving reduces the need to dig through cabinets, saving time and reducing frustration during busy cooking moments.
Visually, modular shelves bring a sense of openness and order. Picture a series of floating wooden or metal shelves mounted on a neutral-colored wall, holding a mix of clear glass jars filled with spices, neatly stacked plates, and a few decorative items like a small plant or a vintage scale.
The textures contrast—smooth ceramics, textured wood, and sleek metal—creating a dynamic visual rhythm. The shelves can be staggered or aligned, depending on your aesthetic, and are often paired with matching storage bins or baskets for added organization.
The overall effect is a streamlined space where everything feels intentionally curated, yet effortlessly accessible. Getting started is simple and budget-friendly.
First, measure your available wall space and select adjustable shelving units that suit your style. Use a level and a drill to securely mount the brackets, ensuring they’re evenly spaced and level.
For a DIY approach, repurpose sturdy wooden planks or repainted crates for a customizable look. Incorporate labeled baskets or small containers to keep smaller items tidy. This setup requires minimal tools and can be completed in an afternoon, turning your kitchen into a highly functional, visually appealing hub.
1. Install Under-Cabinet Lighting for Better Visibility
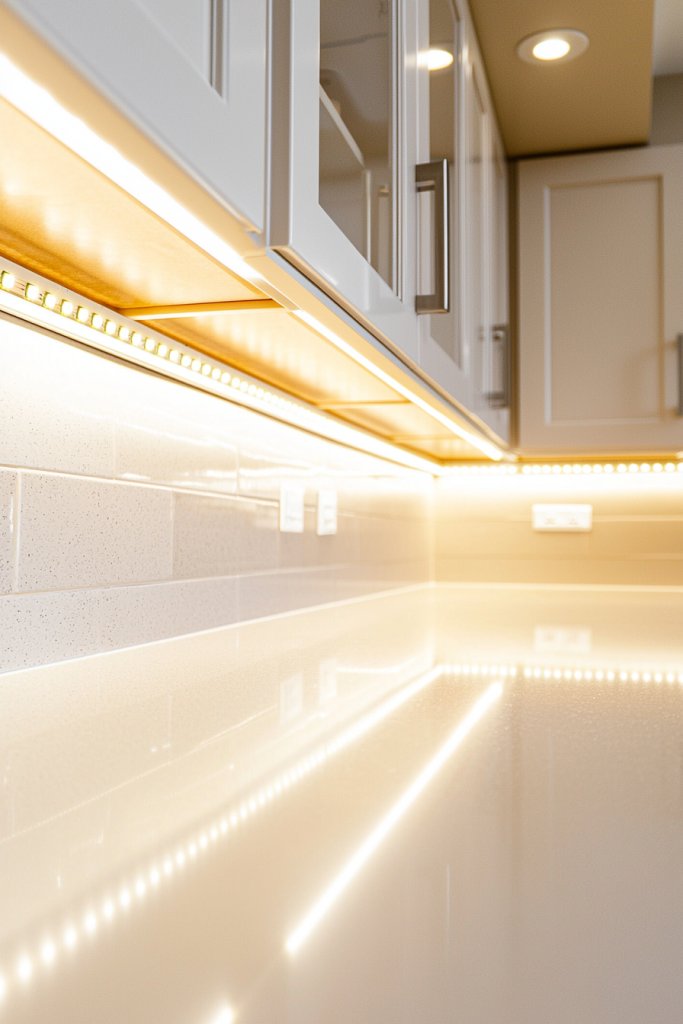
Under-cabinet lighting transforms your kitchen workspace from dull to dazzling, making every task safer and more enjoyable. It provides focused illumination directly on countertops, eliminating shadows cast by overhead lights and highlighting your ingredients and tools.
Whether you choose sleek LED strips, puck lights, or tape lighting, this addition creates a bright, inviting environment that encourages culinary creativity and reduces eye strain during prep work. Plus, it adds a modern, sophisticated vibe that elevates your overall kitchen aesthetic.
Visually, under-cabinet lighting creates a warm glow that accentuates textures and colors—think of shining light on a freshly chopped bundle of herbs, making their vibrant green pop, or casting a gentle radiance over a marble countertop. The soft, even light enhances the space’s depth, making it feel larger and more welcoming.
When turned on, the kitchen feels instantly more professional and cozy, especially in the evenings when ambient lighting can be subtle yet effective. The clean lines of LED strips or slim puck lights integrate seamlessly beneath cabinets, blending function with style.
Implementation is straightforward and adaptable to most kitchens. Begin by measuring the length of your cabinet undersides to select appropriate LED strips or puck lights.
For DIY installation, use adhesive-backed LED strips, which require just a few tools—scissors to cut the strips if needed, and a screwdriver for securing power sources. Connect the lighting to a nearby outlet or install a hardwired switch for a cleaner look.
Once installed, adjust the brightness and warmth to suit your mood. This simple upgrade makes a huge difference in daily cooking routines and creates a more enjoyable culinary space.
2. Use Clear, Stackable Containers for Pantry Staples
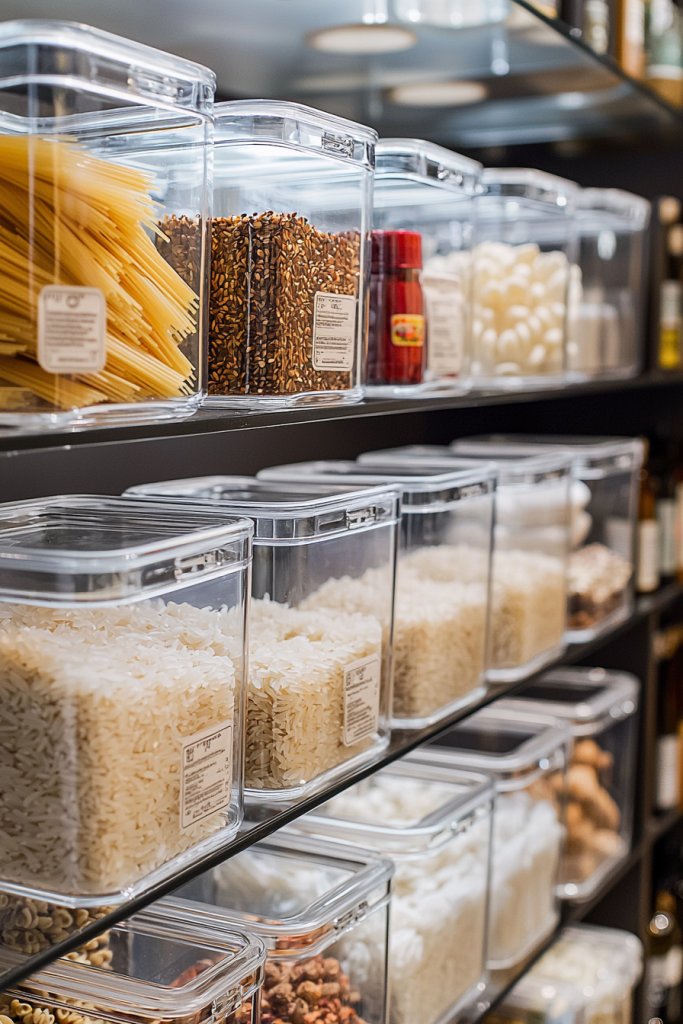
Say goodbye to cluttered cabinets and hello to a sleek, organized pantry with clear, stackable containers. These uniform jars and bins make it easy to see exactly what you have on hand, reducing waste and preventing those frustrating last-minute searches for ingredients.
Whether storing flour, sugar, pasta, or snacks, transparent containers give your kitchen a tidy, cohesive look, while also protecting your staples from moisture and pests. Their stackable design maximizes vertical space, making even the smallest pantry feel more spacious and functional.
Visually, these containers create a harmonious lineup of glass or BPA-free plastic jars with airtight lids—think of a neat row of matching canisters, each labeled with chic, minimalist tags. The transparency reveals the colorful contents—bright yellow lentils, deep red rice, or pastel candies—adding a cheerful pop of color to your shelves.
The uniformity of the containers introduces a sense of order and calm, while the varied textures of grains or spices inside add visual interest. When neatly arranged, they form a pleasing pattern that makes your pantry look like a curated boutique shop.
Getting started is easy and affordable. Select a set of clear, airtight containers that fit your space—sizes can vary depending on your needs.
Use labels or chalkboard tags for quick identification. Fill each container with your staples, then stack or line them up on your shelves, adjusting for height and accessibility.
For a budget-friendly option, repurpose clean glass jars from sauces or pickles. Regularly clean and refill them to maintain the organized look. This simple system not only streamlines your cooking but also adds a polished, inviting touch to your kitchen.
3. Add a Magnetic Knife Strip for Safe and Space-Saving Storage
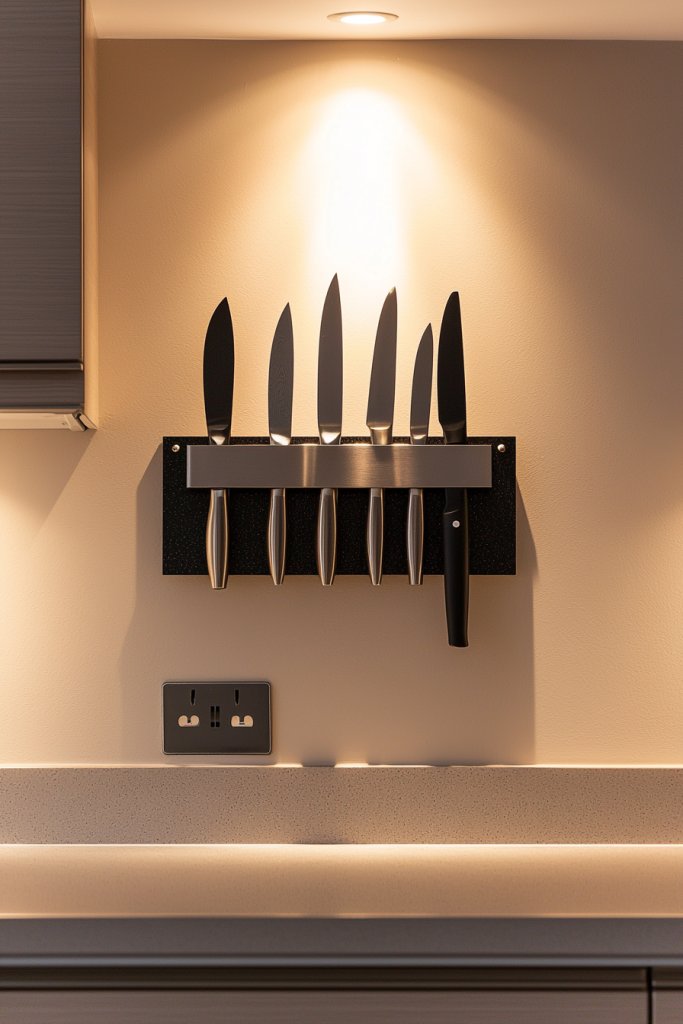
A magnetic knife strip is a game-changer for kitchen safety and efficiency. Mounted on the wall, it keeps your knives within easy reach while freeing up valuable drawer space.
The strip’s sleek metal design offers a modern aesthetic, and the magnetic surface securely holds knives of all sizes—preventing accidental cuts and making your prep process more streamlined. Plus, displaying knives openly adds an industrial-chic vibe that elevates your kitchen decor.
Visually, a magnetic strip spans a few feet above your countertop, with shiny blades of various lengths and styles—chef’s knives, paring knives, and bread knives—clinging effortlessly in a tidy line. The contrast of metallic blades against the strip creates an eye-catching focal point.
It’s not only functional but also visually appealing, turning your knife storage into a stylish display. When in use, the knives are accessible at a moment’s notice, and the overall space feels less cluttered and more organized, with everything you need at your fingertips.
Installation is straightforward and safe. First, choose a sturdy metal strip that matches your decor—stainless steel or painted options work well.
Measure and mark the desired height, typically eye level or just above the counter, then use a drill to secure the strip firmly to the wall with appropriate anchors. Make sure to place it away from high-traffic areas to prevent accidental bumps.
Once mounted, carefully attach your knives to the magnet, ensuring they are balanced and secure. Regularly check the magnet’s strength and clean the strip with a damp cloth to keep it looking sharp. This simple upgrade brings both safety and style to your culinary space.
4. Incorporate Pull-Out Drawers and Bolders in Cabinets

Pull-out drawers and bolder organizers are the secret to unlocking the full potential of your kitchen cabinets. These sliding trays make it easy to access items tucked away at the back, eliminating the need for awkward reaching or unloading entire shelves.
With compartments designed for plates, pots, pans, or pantry items, they keep everything visible and within arm’s reach, boosting efficiency and reducing clutter. Their sleek design also adds a touch of modern sophistication to your cabinetry.
Visually, these systems introduce a smooth, functional aesthetic. Imagine a deep cabinet with chrome or wood-finished pull-out drawers that glide effortlessly on sturdy rails.
Inside, you might see neatly arranged stackable dishes or organized spice jars. When extended, the drawers reveal a full view of stored items, making it easier to find what you need without rummaging.
The clean lines and metal accents complement many kitchen styles, from minimalist to rustic, creating a clutter-free environment that feels both practical and inviting. Implementation is manageable with some basic tools.
Measure your cabinet openings and choose compatible pull-out systems or organizers. For beginners, pre-made kits with adjustable rails and trays are ideal—they simply screw into existing cabinet frames.
Clear the cabinet, remove the shelves if necessary, and install the rails or drawer units according to instructions. Use non-slip liners inside the drawers for added stability. This upgrade enhances daily routines by saving time and effort, turning your cabinets into organized, accessible storage solutions with minimal hassle.
5. Create a Dedicated Spice Drawer or Organizer
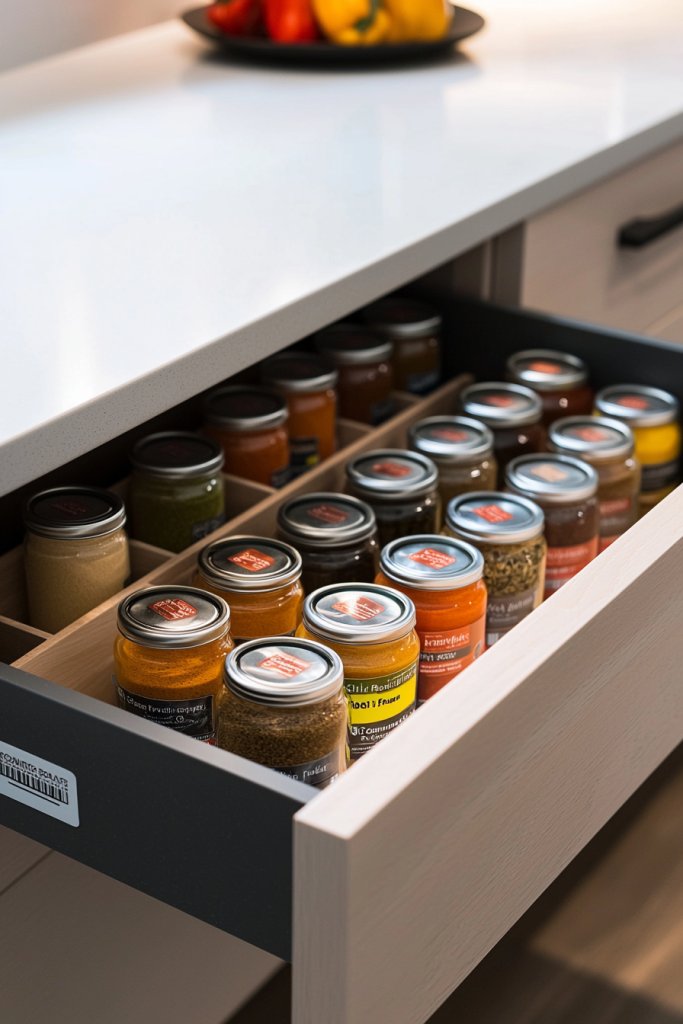
A well-organized spice drawer transforms your cooking experience from chaotic to seamless, saving you time and frustration during meal prep. Imagine opening a sleek drawer where all your spices are neatly arranged, ready at a glance, making cooking feel effortless and enjoyable.
Visualize a shallow, wide drawer with custom dividers or small glass jars labeled with clear, bold text—think black chalkboard labels or metallic stickers—creating a vibrant, orderly display. The spices themselves come in uniform containers, such as small clear acrylic jars or stainless steel tins, allowing you to quickly identify ingredients.
The arrangement could be alphabetized or grouped by cuisine type, with a colorful spice palette of bright reds, earthy browns, and vibrant yellows adding visual appeal. A compact, dedicated space—perhaps with a sliding tray—keeps everything accessible and clutter-free, with the pleasant aroma of herbs and spices filling the air when opened.
To recreate this setup, start with a wide, shallow drawer in your kitchen cabinet. Purchase small labeled jars or stackable spice containers—many affordable options are available online or at home goods stores.
Use plastic or wooden dividers to segment the space into sections for different spice types. For added convenience, include a labeling system—such as a chalk marker or printable labels—to keep everything organized. Finally, arrange your spices in the chosen containers and place them in the designated drawer, making sure everything is easy to see and reach for your next flavorful creation.
6. Use Stylish Baskets and Trays for Countertop Clutter Control
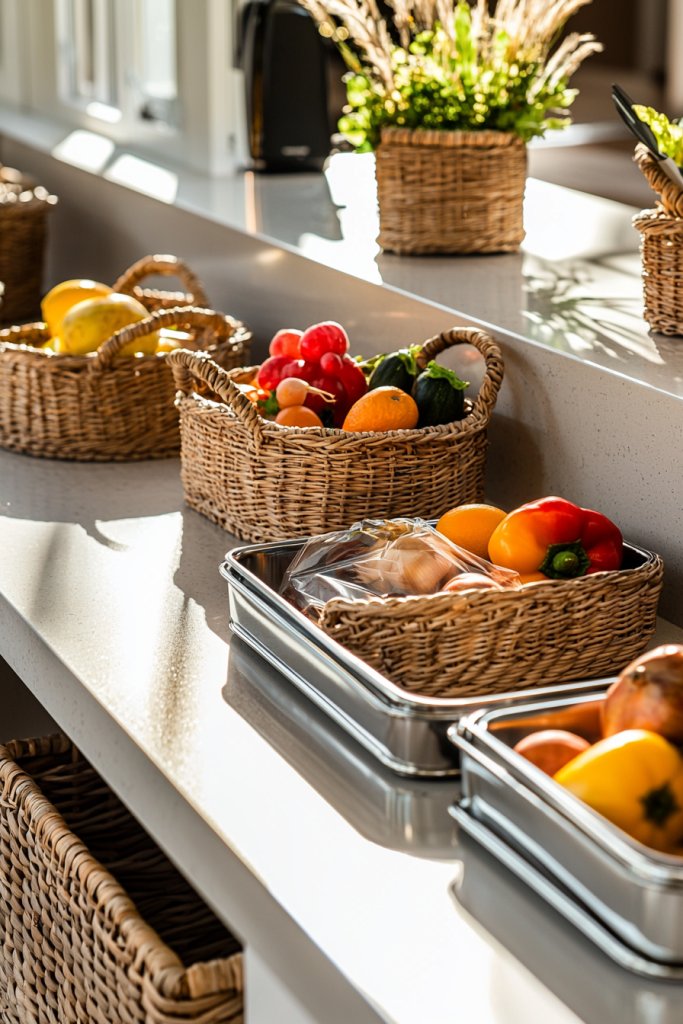
Incorporating decorative baskets and trays into your kitchen keeps your countertop tidy while adding visual charm. Picture a set of woven rattan baskets or sleek metal trays that neatly contain everyday essentials like utensils, oils, and snacks, creating a balanced mix of functionality and style.
Imagine a natural-colored wicker basket holding a collection of wooden spoons, silicone spatulas, and a ceramic container filled with cooking oils and vinegars—each piece thoughtfully arranged to feel inviting. A metal tray in a matte black or brushed gold finish can organize small jars of spices, tea towels, or fruit, while adding a modern touch.
Textured textiles like a soft cream or pastel-colored linen towel draped over the edge of a basket or tray can soften the look, and fresh lemons or herbs placed nearby can evoke a lively, fresh atmosphere. The overall effect is a clutter-free surface that’s both practical for daily use and visually appealing, elevating your kitchen’s style effortlessly.
To implement, select various baskets and trays in materials and sizes that fit your countertop space—think woven rattan for rustic charm or sleek metal or acrylic for contemporary flair. Group similar items, like utensils or snacks, into these containers, ensuring they’re easy to grab and put away.
Position your baskets and trays strategically, perhaps near the stove or sink, where they can serve as both organizational tools and decorative accents. Finish by adding a few decorative touches like a small plant, a decorative bowl, or a patterned cloth to personalize the setup and create a warm, inviting atmosphere.
7. Install a Pot Rack or Ceiling Hooks for Easy Pot and Pan Storage

Hanging your cookware on a pot rack or ceiling hooks not only frees up cabinet space but also adds a stylish, rustic or modern focal point to your kitchen. Visualize a sleek black metal pot rack mounted above the island or a set of brass ceiling hooks holding a collection of shimmering stainless steel or copper pots and pans.
Picture a minimalist ceiling-mounted rack with hooks that swing freely, showcasing a range of chef’s pans, saucepans, and skillets with their bright metallic finishes catching the light. Alternatively, a wooden or iron ceiling hook system can display cast iron skillets or decorative copper pots, creating a warm, inviting vibe.
The hanging cookware is within arm’s reach, making it easy to grab what you need while cooking, and the visual display adds texture and interest to the kitchen. Complement this with decorative accents like colorful silicone handles or rattan utensil holders nearby for a cohesive look.
To set this up, determine the ideal location—above your kitchen island or stove area—and install strong ceiling anchors or mounting brackets suitable for supporting heavy cookware. Choose sturdy hooks or a rack system that matches your kitchen’s style, whether sleek and modern or vintage-inspired.
Gather your favorite pots and pans, and hang them thoughtfully, balancing sizes and finishes for visual harmony. This simple upgrade not only enhances functionality but also adds a professional, chef-inspired aesthetic to your space.
8. Add a Compact Kitchen Island or Cart for Extra Prep Space
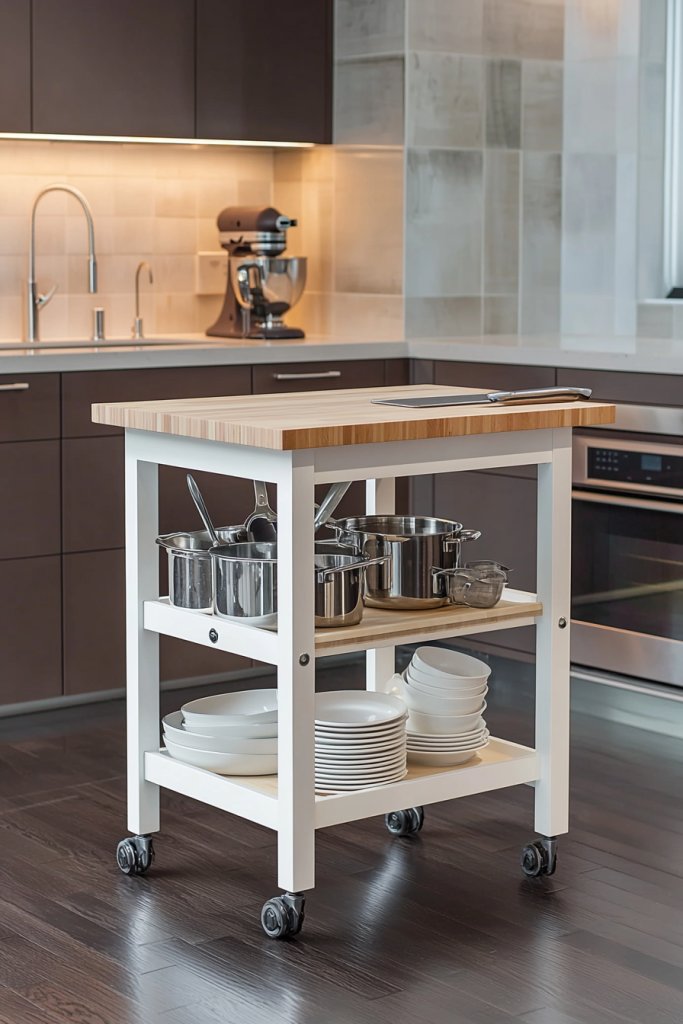
A portable kitchen island or rolling cart can dramatically boost your workspace and storage options, making meal prep more comfortable and organized. Envision a white wooden cart with shelves and drawers, topped with a marble or butcher block surface, ready to serve as a flexible hub for chopping, serving, or storing kitchen essentials.
Picture a metal-framed cart with wicker baskets underneath for utensils, a granite top for cutting, and a small wine rack or towel bar on the side. The cart’s wheels allow you to move it around easily, adapting to your routine—whether you need extra space during busy cooking times or a serving station during gatherings.
Decorate the surface with a stylish cutting board, a bowl of fresh fruit, or a small potted herb for a lively look. This addition creates a multi-functional zone that enhances your kitchen’s practicality without sacrificing style.
To implement, select a compact, sturdy cart or small island that fits your available space, considering materials like wood, metal, or composite for durability. Add shelving, drawers, or hooks for extra storage, and top it with a cutting surface—preferably wood or marble—that’s easy to clean.
Place the cart in a high-traffic area where it can serve multiple purposes, and stock it with frequently used tools or ingredients for quick access. With minimal effort, this versatile piece transforms your cooking area into a more functional, stylish space.
9. Install a Lazy Susan or Rotating Tray for Hard-to-Reach Items
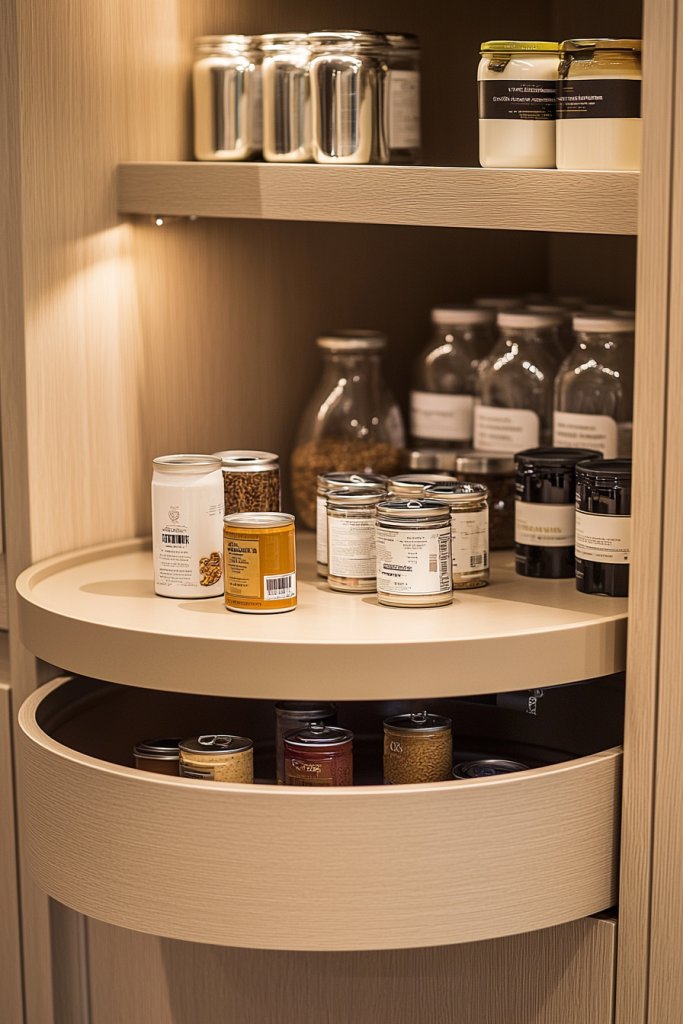
Imagine turning a simple turntable and instantly gaining easy access to everything lurking in the back corners of your pantry or cabinet—no more awkward stretches or digging around. A Lazy Susan transforms tight, cluttered spaces into organized, user-friendly zones, making your kitchen feel more spacious and inviting.
Visually, a Lazy Susan is a circular tray, often made of sleek wood, vibrant acrylic, or durable plastic, that spins smoothly on a central axis. It’s placed inside a corner cabinet or on a shelf, with contents like spices, canned goods, or small appliances arranged neatly around it.
When spun, it reveals items at the back that would otherwise be hidden, with the entire setup offering a clean, symmetrical look. The surface can be smooth or textured, and some models feature raised edges to keep items secure.
The overall effect is a clutter-free space that maximizes accessibility while adding a subtle touch of modern organization. To implement this idea, start by selecting a Lazy Susan that fits your cabinet or shelf dimensions—sizes range from 12 to 24 inches in diameter.
For a budget-friendly option, a simple plastic or acrylic turntable from a home goods store works well, but for a more stylish look, opt for a wooden or marble version. Clear out the cabinet, clean the area, and place the Lazy Susan inside.
Arrange your pantry staples or small kitchen tools on it, grouping similar items together for easy retrieval. Secure heavier objects toward the center for stability, and enjoy a more organized, efficient space with minimal effort.
10. Add a Statement Pendant Light or Decorative Fixture as a Focal Point
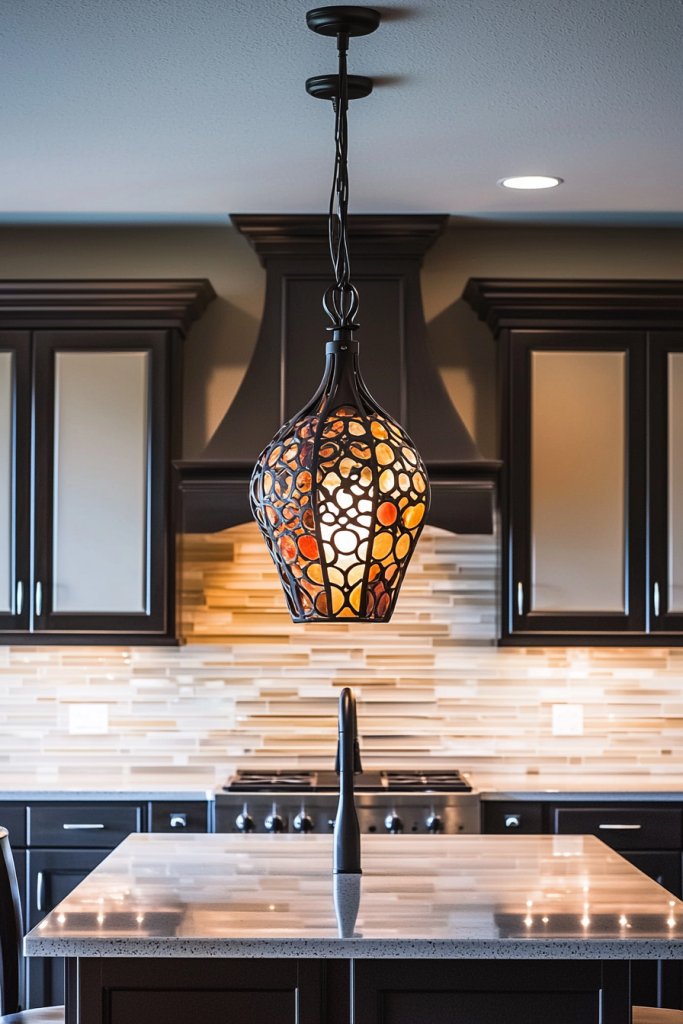
Lighting isn’t just practical—it’s a powerful design element that can transform your entire kitchen’s atmosphere. A bold pendant or decorative fixture creates a captivating focal point, elevating your space from ordinary to extraordinary with just one stylish statement.
Picture a large, geometric pendant with a matte black finish hanging over your island, or a cluster of glass orbs in soft pastel hues that cast gentle, warm light across the room. The fixture’s design can incorporate trendy materials like brushed brass, matte black metal, or textured ceramic, with the fixture’s size proportional to your space to avoid overwhelming the room.
When lit, it creates a warm glow that highlights your countertops, cabinets, and even your favorite decorative accents. The combination of shape, color, and lighting enhances the overall aesthetic, making your kitchen feel more inviting and personalized.
To add a statement fixture, choose a pendant that complements your existing decor—whether modern, rustic, or eclectic. Measure your ceiling height and the space above your island or dining area to select an appropriately sized fixture.
Install a compatible ceiling hook or mounting bracket, then connect the fixture following the manufacturer’s instructions. If you’re not comfortable with electrical work, consider hiring a professional.
For a quick DIY, replace your existing fixture with a pre-wired pendant, ensuring all connections are secure. Finish by adjusting the height to just above eye level for optimal style and function, and enjoy a luminous centerpiece that truly defines your kitchen’s personality.
Conclusion
These smart kitchen ideas offer practical solutions to elevate your cooking space—from clever organization tips like pull-out drawers and vertical storage to stylish touches such as decorative backsplashes and statement lighting. By incorporating even a few of these innovations, you can transform your kitchen into a more efficient, inviting, and personalized hub. Don’t wait—start experimenting with these ideas today and enjoy the seamless, enjoyable cooking experience you deserve!
Leave a Reply